1.
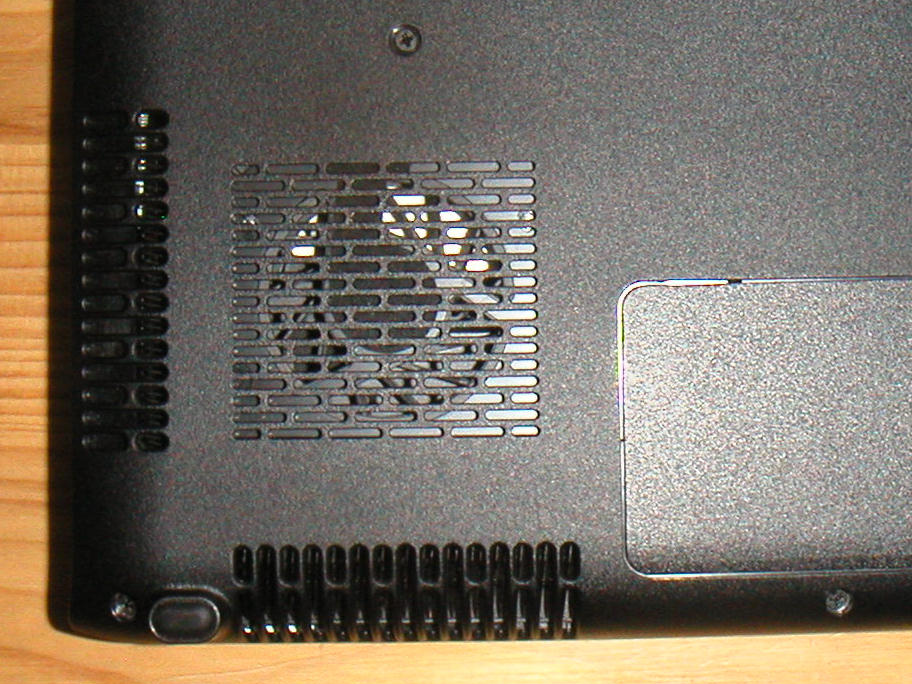
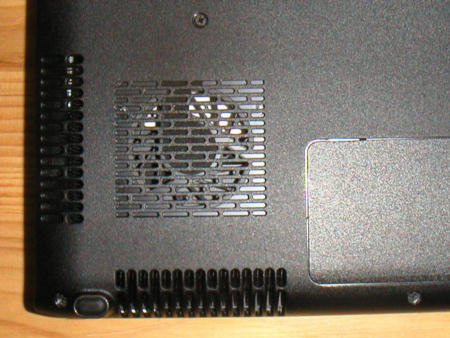
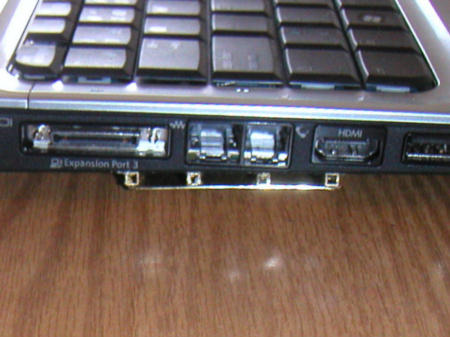
As you can see from the bottom of my HP 9700, the fan sucks air in
from the bottom and out through the 2 sides. This is not unusual. It is
a simple necessity of design. First, all laptops have the keyboard on the
fingers and eyeballs side, so the circuit cards have to be on the lap side.
Secondly, the little fans used are "centrifugal fans" which necessarily
suck in the centre and blow on the perimeter. So to cool the CPU, a fan
is mounted, and it must suck from directly beneath. Brilliant thinking!
You'd think after a fire or too, they'd figure this out.
Here's a solution with hobby store materials. |
 |
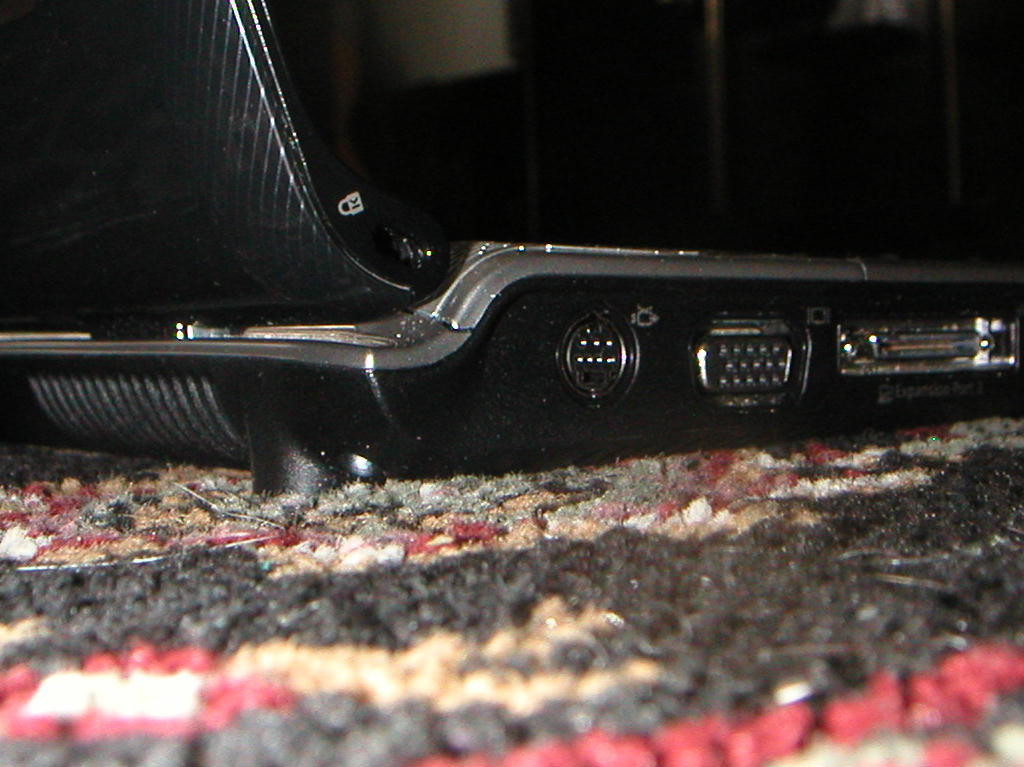
2.
This shot shows how effectively blocked laptops are when operated on a
rug, another common place of use. It just sinks into the carpet and again
blocks the cooling port. Same for blankets, cushions. The only safe plane
is a flat surface like a desk. But part of the reason you bought a "laptop"
is to use away from desk environments.
You could also make a piece of flat wood, metal or plastic the same size
or bigger as an accessory and put it down first.
A curious thing about "laptop cooling trays". They function as
expensive flat surfaces. If you operate the fans they have, they are backwards
to the designed airflow direction of the laptop. Again, centrifugal fans
must suck from their centres. So the tray competes with the laptop. |
 |
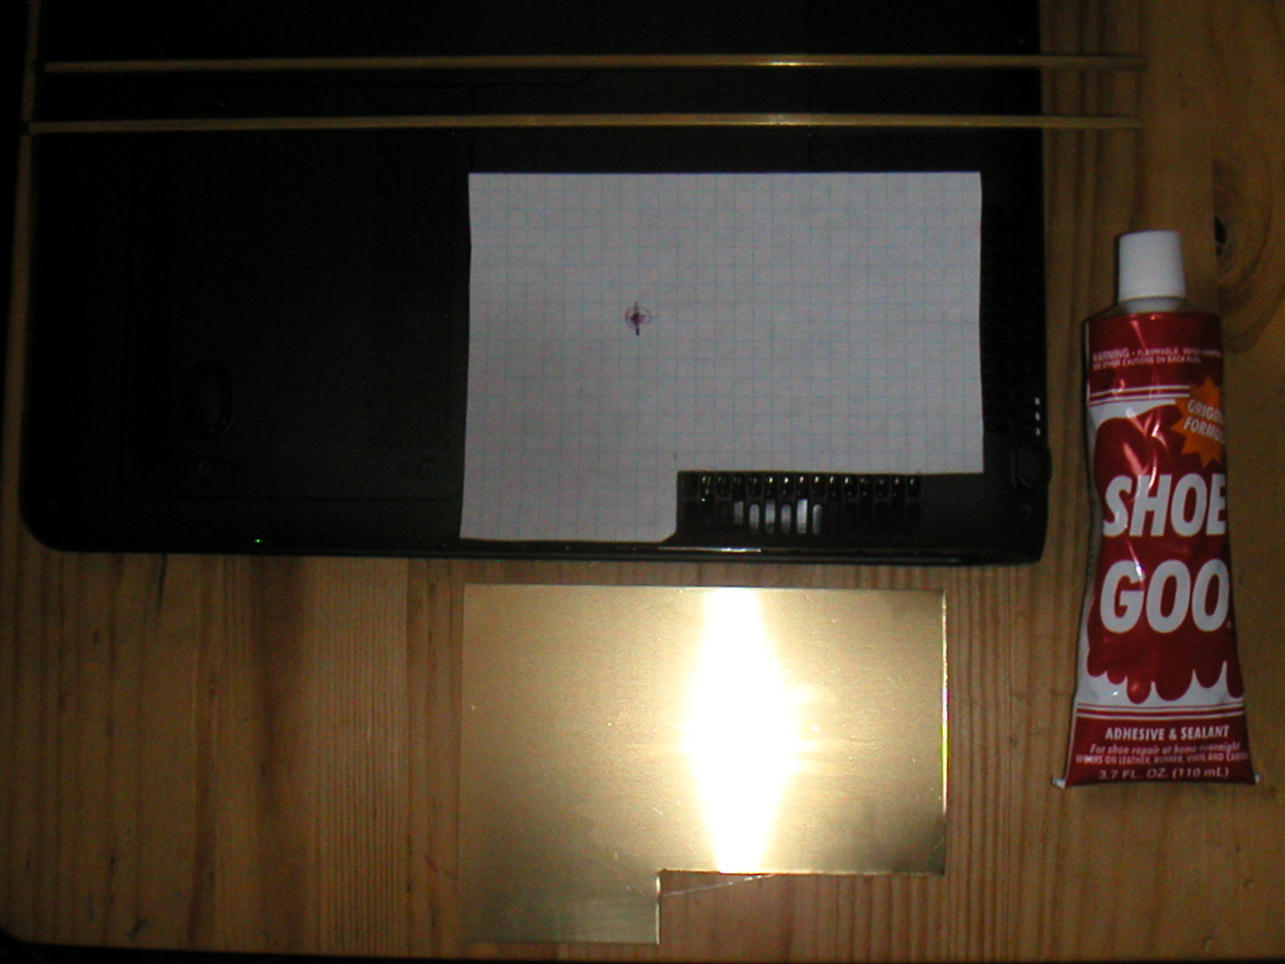
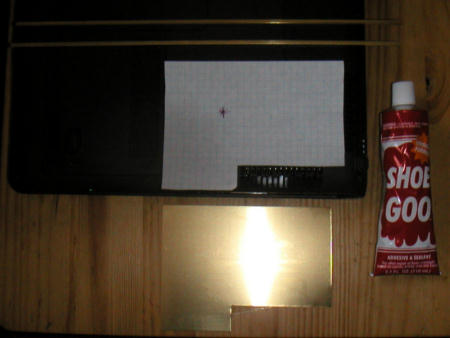
3.
Because I didn't want to prevent regular service access to the computer,
I cut this paper template so not to compromise disassembly.
It bounds the fan outlets and adjacent compartments.
Note the mark over the panel screw.
The .005 brass (as thin as possible) is cut accordingly.
The hobby shop recommended "Shoe Goo" as the adhesive best for
the job. It is what they use for field repairs of RC model cars. |
 |
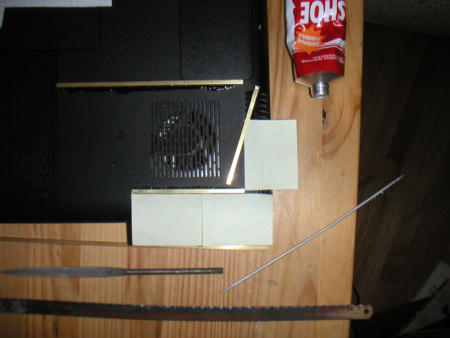
4.
The height of the air inlet had to be the same as the normal clearance
between the bottom of the case and the normal desk clearence established
by the rubber feet. That was only .125 inch and that's the size of the
brass square rods used to frame the area.
Post it notes made good line ups to glue by. |
 |
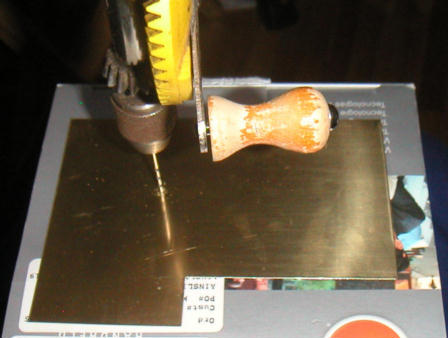
5.
Drilling through the .005 inch brass. Used a hand drill and worked up from
the smallest drills a few sizes at a time so as not to tear the metal. |
 |
6.
And finally had to file the hole large enough to get the the screw. Make
sure it's actually over the hole. Make larger if you have to.
Since the hole is usually covered you don't need to tape it. Any potential
leakage here would help flow anyway. |
 |
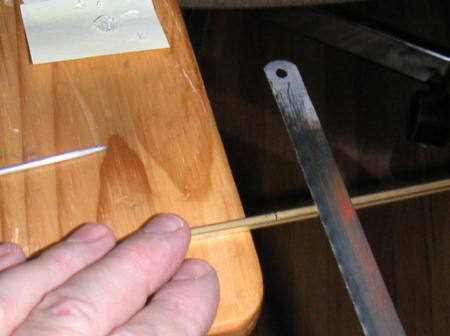
7.
Used old fine pitch hacksaw blade to cut the brass rod. Sufficient to hold
with hands. |
 |
8.
To make the inlet curve up the sides the brass rod must be made to bend.
Here are shown a series of partial cuts through so to bend it. |
 |
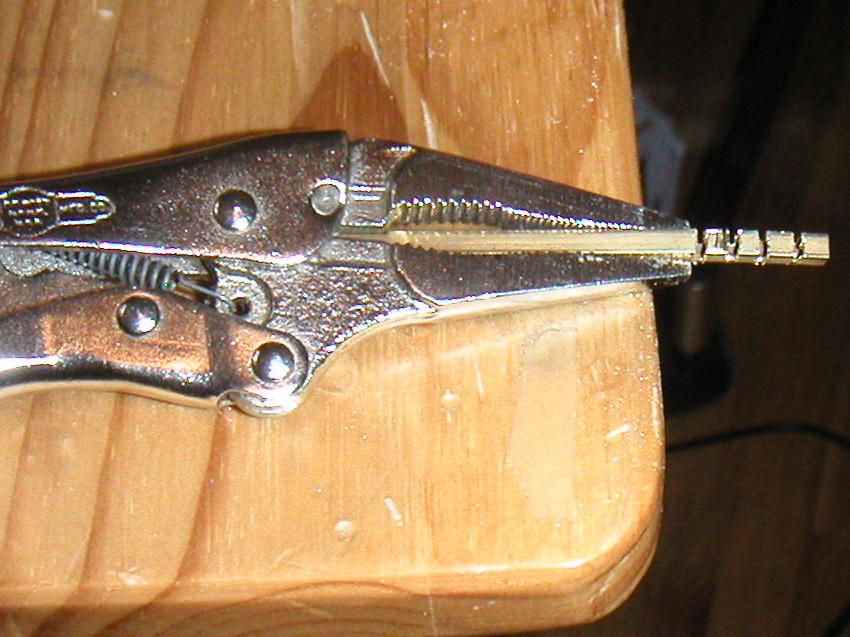
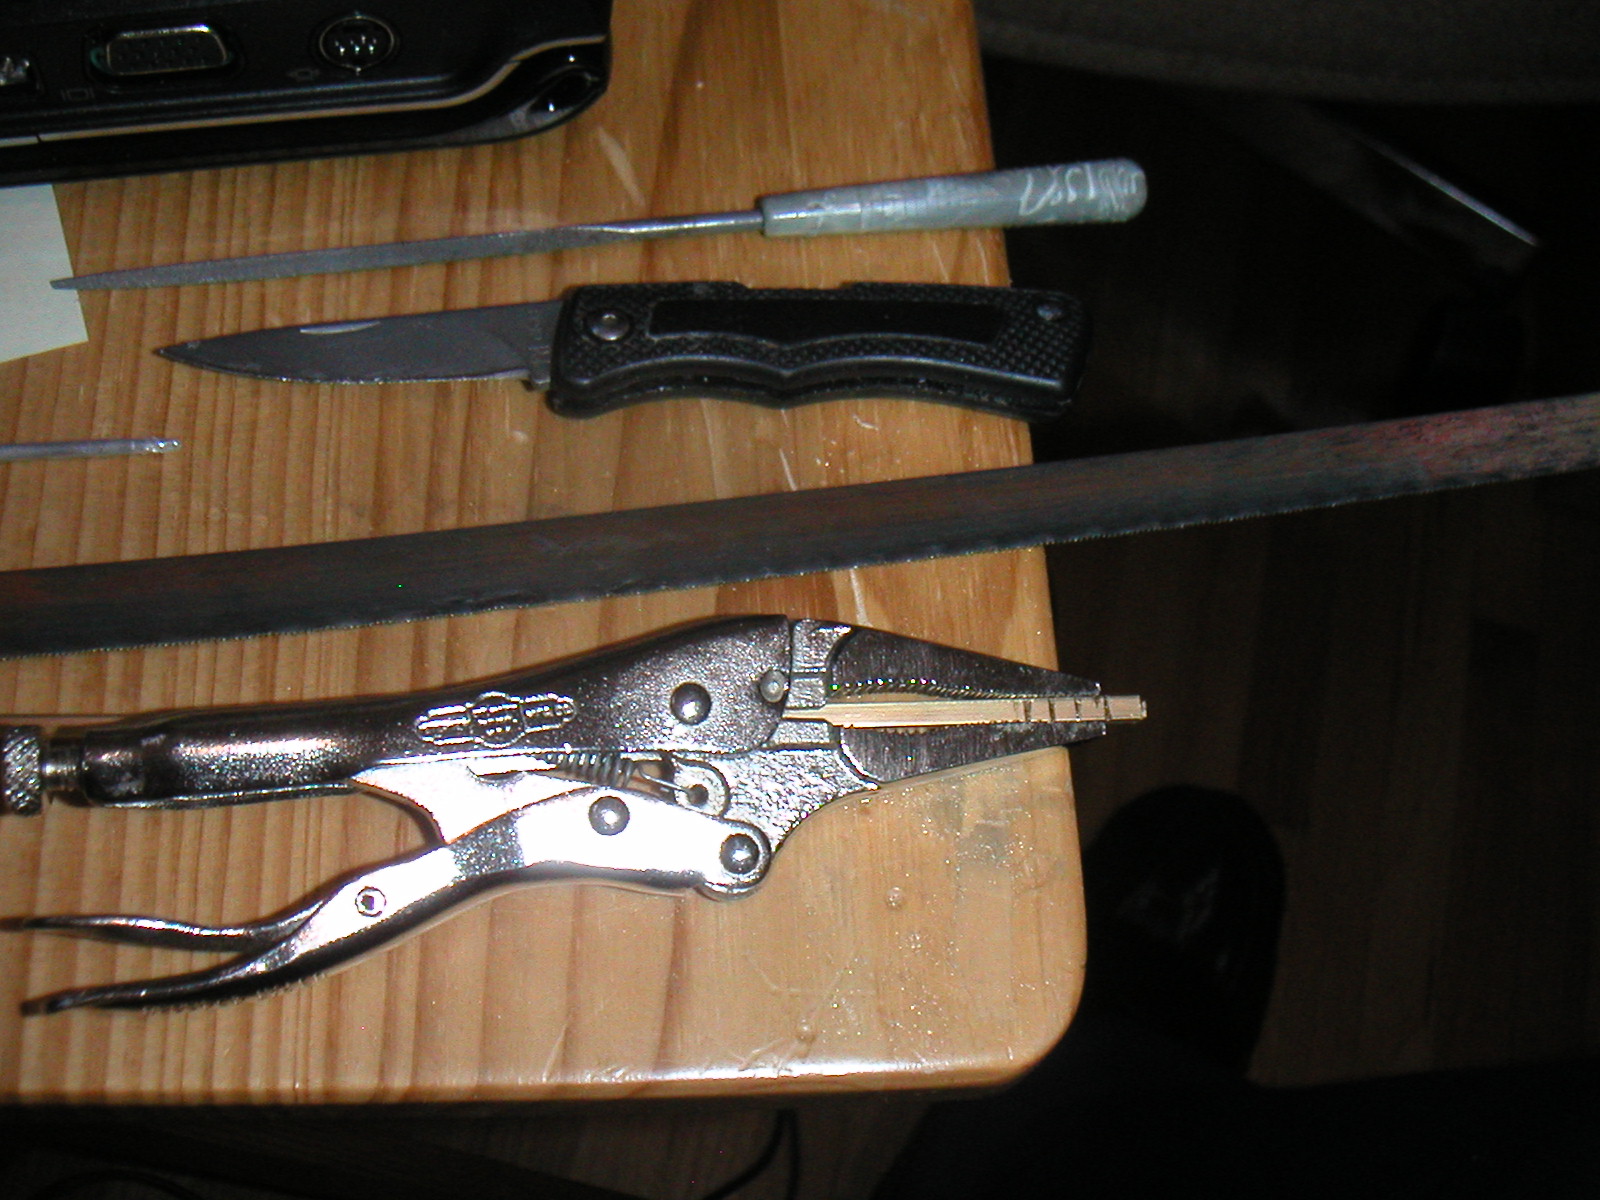
9.
Tools used. |
 |
10.
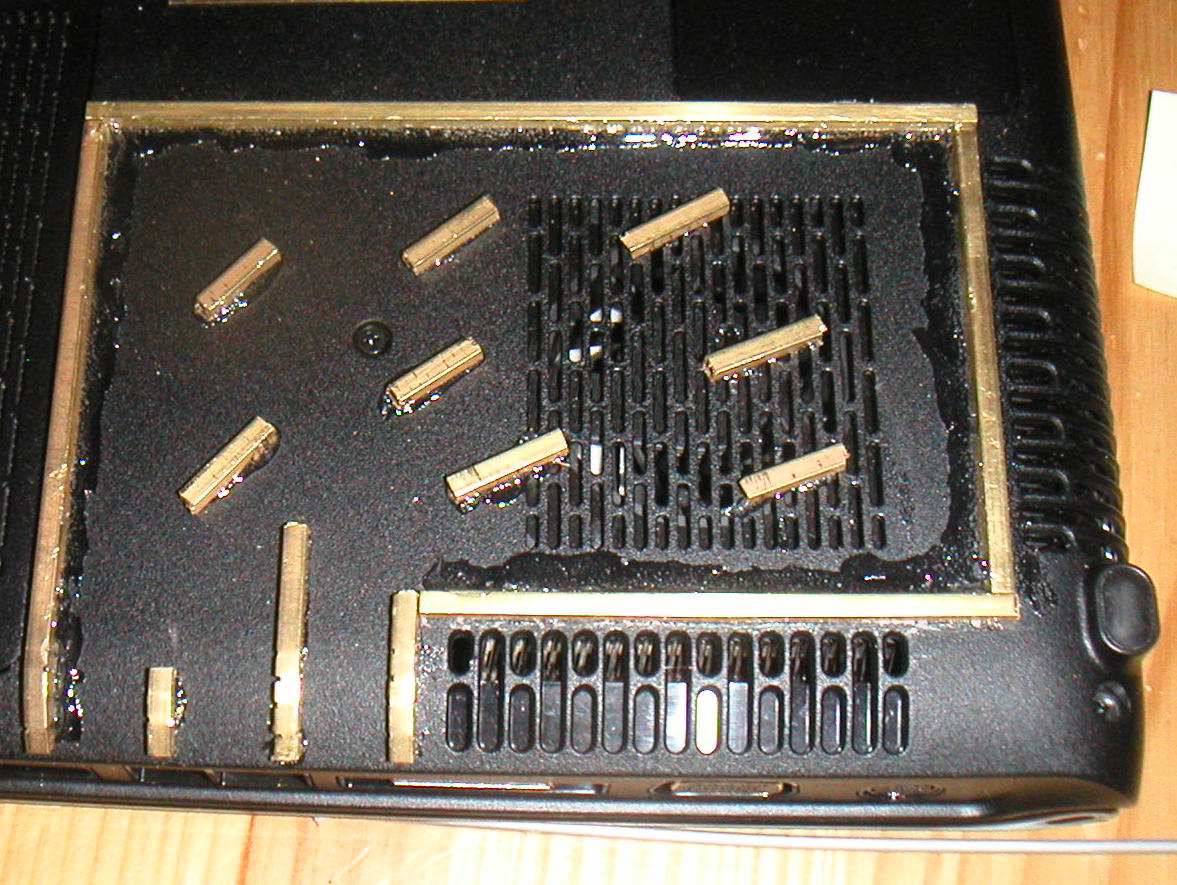
Here is the setup ready to glue the lid on. Because the limited space meant
superthin material, it had to be supported for short spans. The little
pieces were set along the direction of the airflow up over the the fan
inlet.
Note the pieces bent around the edge where the air will enter. |
 |
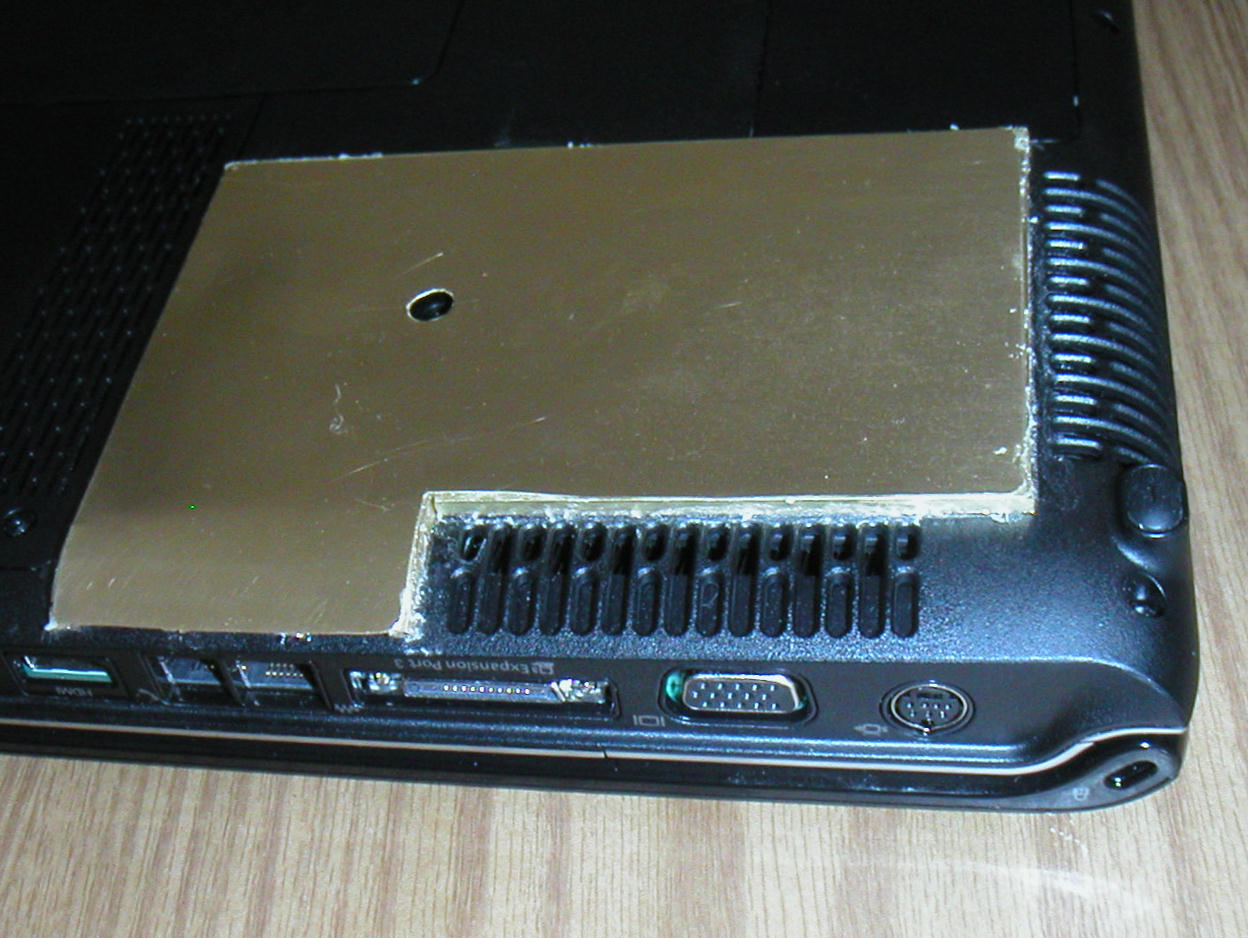
11.
This is a shot of the finished airlet area. A bit ugly and a tiny bit sharp,
but works just fine.
You can hear the fan by putting your ear down to the inlet. What you notice
is that the speed of the fan is constantly changing. Normally it runs very
slow and all the time. As screen and CPU use rise, the fan speeds up. So
it doesn't very often have to run at screaming speeds, and of course the
airflow is no longer restricted.
The impedance of the inlet doesn't seem at all a problem. |
 |
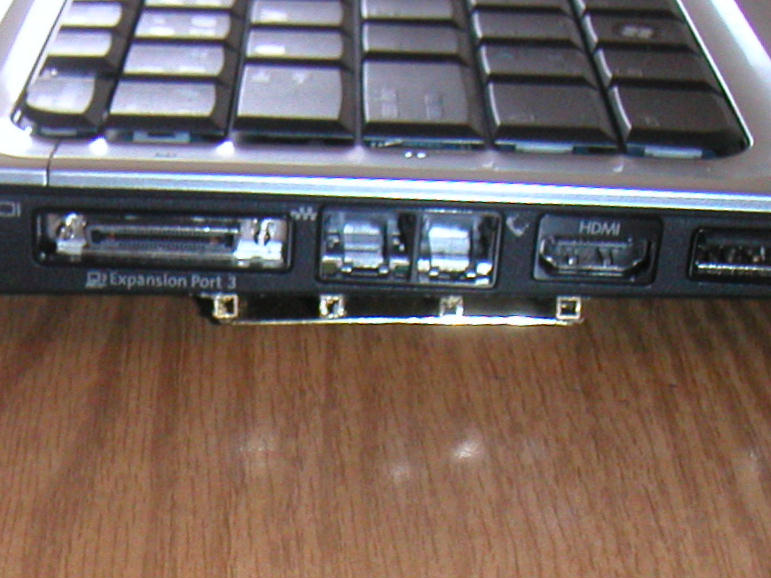
12.
This is a shot of the completed air inlet from the bottom. |
 |